
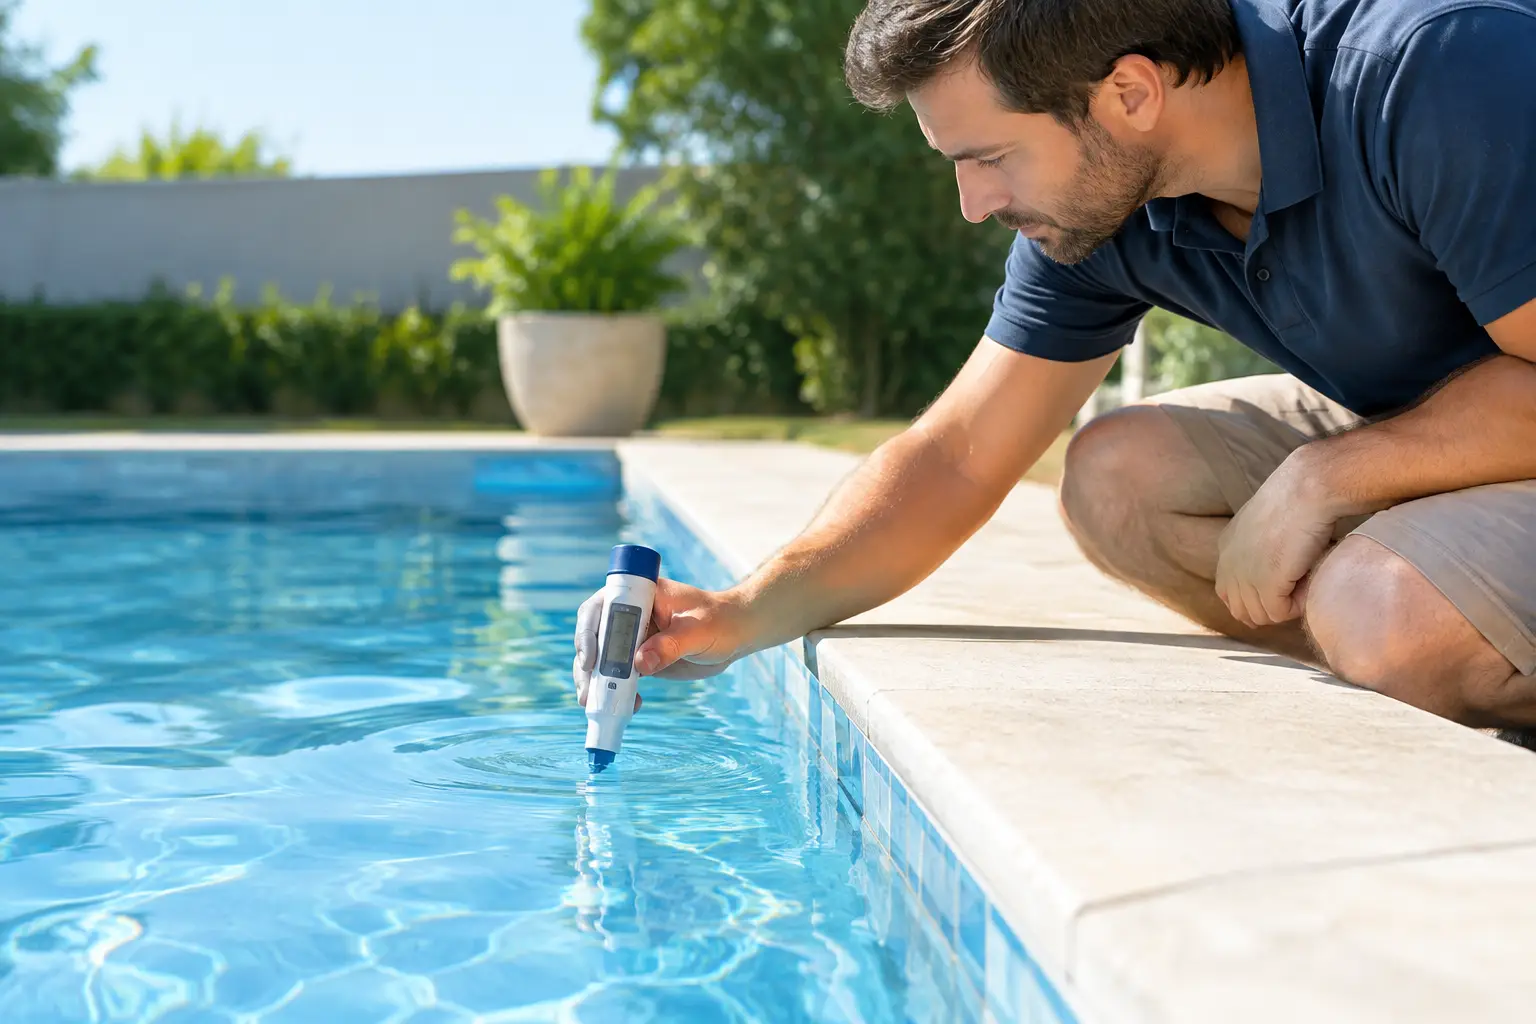
A pool that needs topping up every few days is not automatically leaking. In Dubai’s heat, evaporation can be substantial, particularly when the pool is exposed to wind, heated, or used frequently. However, unexplained water loss, damp paving, falling water levels and rising water bills warrant action. Learning how to test pool leaks properly helps separate normal evaporation from a structural or plumbing failure before a minor issue damages finishes, wastes treated water or undermines surrounding ground.
Start by ruling out normal evaporation
Evaporation is affected by air temperature, water temperature, wind, humidity, pool cover use and bather activity. A heated, uncovered pool can lose noticeably more water than a shaded, unheated one. Splash-out and backwashing also need to be considered before a leak is assumed.
The key question is whether the pool is losing more water than a nearby container of water exposed to the same conditions. This is where the bucket test is useful. It does not locate a leak, but it provides a reliable first indication of whether further investigation is justified.
Carry out a bucket test correctly
Choose a calm period when the pool will not be used and no backwashing, automatic top-up or major water-feature operation is planned. Turn off the automatic fill valve if fitted. Place a bucket on a pool step so that the water inside the bucket is at roughly the same temperature as the pool water. Add pool water to the bucket until its internal level matches the pool’s external water level.
Mark both levels with waterproof tape or a pencil line. Leave the pool undisturbed for 24 hours, then compare the two drops. If the pool level has fallen materially more than the bucket level, the difference suggests water is escaping from the pool system rather than evaporating.
Repeat the test with the circulation pump switched off, then again with it running. This comparison is valuable because it narrows the likely source:
- Greater loss with the pump running can indicate a pressure-side leak, often in return lines, fittings, heater connections or equipment plumbing.
- Greater loss with the pump off can point to a suction-side issue, shell defect, skimmer, main drain, light niche or hydrostatic problem.
- Similar loss in both conditions may indicate a structural leak or a fault unrelated to circulation pressure.
- No significant difference from the bucket usually means evaporation is the principal cause, although intermittent leaks can still require monitoring.
One test is a screening exercise, not a complete diagnosis. Windy weather, rain, active pool features and an inaccurate starting level can distort the result. For a large pool, commercial facility or property with a high-value finish, professional testing is the more defensible approach.
Test pool leaks by reading the water level
The level at which water stops falling can provide a useful clue. Allow the level to reduce naturally while monitoring it carefully. Do not leave a pool unattended to drain significantly, particularly where surrounding soil conditions, liner integrity or pool structure are uncertain.
If the water stabilises at the midpoint of the skimmer opening, inspect the skimmer throat, faceplate, fittings and associated plumbing. If it stops at the level of a return inlet, light fitting or step jet, that feature deserves focused testing. A level that continues below all fittings may indicate a shell crack, liner damage, main drain issue or a fault in the pool floor.
This method is informative but should be treated with caution. Water can stop falling because a leak path becomes inactive at a particular level, not necessarily because the visible fitting at that level is the source. It is a clue for the next test, not proof of failure.
Inspect accessible areas before opening anything
A visual inspection often reveals evidence that has been missed because it is outside the pool itself. Check the plant room for wet patches, corrosion, mineral deposits, staining around unions, damaged seals, dripping valves and moisture beneath pumps or filters. Inspect flexible connectors, heater plumbing, chlorinator cells and any equipment added during a refurbishment.
Around the pool, look for persistent soft ground, loose coping, stained grout, cracked tile bands, damp expansion joints or unexplained efflorescence. Water escaping below the deck may not surface directly above the leak. It can travel along pipe trenches, compacted fill or structural joints before becoming visible elsewhere.
For tiled pools, inspect the waterline and areas around fittings for cracked grout or deteriorated sealant. These defects are not always the leak source, but they allow water to enter places where it can compromise adhesive beds, render and surrounding finishes.
Isolate the pool equipment and pipework
Pool plumbing is commonly divided between suction lines, which carry water to the pump, and pressure lines, which return filtered water to the pool. Isolation valves can help identify which circuit is responsible, provided they are operated correctly and the system is never run dry.
A technician may isolate individual skimmers, vacuum points, main drains, return lines, water features or heat-pump connections, then observe pressure behaviour. A pressure drop after a line is isolated may show that the pipework or a connected fitting is compromised. Yet pressure testing alone cannot always distinguish a tiny leak from a poorly sealed test plug or valve, which is why results must be interpreted by an experienced operator.
If a pool has an overflow channel, balance tank or automatic levelling system, testing is more complex. These systems introduce additional pipework, valves and water levels. A fault in an overflow circuit can be mistaken for evaporation or a leak in the pool shell, particularly when the pool is regularly topped up automatically.
When dye testing helps, and when it does not
Dye testing is useful for suspected localised defects. With circulation switched off and the water as still as possible, a technician introduces a small amount of specialist dye near a crack, fitting, light niche, skimmer joint or suspected joint. If water is being drawn through a defect, the dye may visibly move towards it.
This is not a suitable test for every situation. Wind, currents, poor visibility, surface movement and large voids can make dye behaviour difficult to interpret. Dye also does not identify underground pipe leaks. It should be used to confirm a targeted suspicion, not as a substitute for systematic investigation.
Use non-destructive methods for hidden pool leaks
When basic checks indicate a real loss but the source remains unclear, non-invasive diagnostic methods reduce the risk of unnecessary excavation. Acoustic leak detection can identify the sound of pressurised water escaping from buried pipework. Pressure testing confirms whether isolated circuits hold stable pressure. Tracer gas testing can locate extremely small leaks in tested lines where acoustic methods are limited by depth, background noise or construction materials.
Thermal imaging may support the investigation where temperature differences reveal moisture migration, especially around plant rooms, under paving or within adjacent structures. It is not a stand-alone solution for every pool leak, because thermal readings depend on conditions and material types. Used alongside acoustic, pressure and visual evidence, it can help direct targeted access.
For commercial pools, hotels, schools and residential communities, documented testing is particularly valuable. It creates a clear record of the fault, the circuits tested, readings taken and repair scope required. That reduces disputes between contractors, supports maintenance planning and limits the chance of repeatedly repairing the wrong area.
Avoid the repairs that create bigger problems
Adding sealant products to the pool water may appear economical, but it can complicate filtration, affect water chemistry and conceal a fault that continues to damage the structure or surrounding ground. It may have a limited role in a specific, confirmed minor defect, but it should not be the first response to unexplained water loss.
Equally, do not start lifting coping, tiles or paving based on guesswork. Random demolition is expensive and often fails to reach the actual source. Accurate diagnosis should determine whether repair is needed at a fitting, in a pipe run, inside the plant room or within the pool structure itself.
If the pool shares walls with a villa, basement, plant room or landscaped area, act promptly. Escaping water can lead to mould, damaged electrical systems, weakened finishes and substantial reinstatement costs long before the loss becomes dramatic at the waterline.
A disciplined testing process turns a frustrating pool problem into an evidence-led repair. Where the cause is not visible, LeakDtech can combine pool pressure testing, acoustic investigation and non-destructive inspection to identify the failure with minimal disruption. The earlier a genuine leak is confirmed, the more likely the repair remains targeted, clean and cost-controlled.