A failed waterproofing system rarely begins with water pouring through a ceiling. It usually starts quietly: a faint damp patch below a bathroom, blistering paint at a parapet wall, mould around a skirting board, or an unexplained increase in water consumption. Understanding the top causes of waterproofing failure helps owners, facilities teams and developers intervene before a local defect becomes a costly refurbishment, tenant complaint or operational disruption.
Waterproofing is not a single material applied to a surface. It is a system made up of the substrate, surface preparation, membrane or coating, joints, drainage details, penetrations and protection layers. Failure at any one point can allow water to travel behind finishes and emerge far from the true source.
Poor Surface Preparation Before Application
Many waterproofing failures are created before the first coat or membrane is installed. Concrete and screeds must be clean, dry enough for the chosen product, structurally sound and properly profiled. Dust, laitance, oil, curing compounds, loose render and residual moisture can prevent a coating from bonding correctly.
This is particularly common in bathrooms, balconies, roofs and water tanks where programmes are tight and trades overlap. A membrane may appear sound immediately after installation, yet separate from the substrate months later because it was applied over a contaminated or inadequately cured surface. Once water enters at an edge or joint, it can migrate under the membrane and cause widespread de-bonding.
Preparation requirements depend on the system. Cementitious waterproofing, liquid-applied polyurethane, bituminous membranes and crystalline products each have different tolerances for surface moisture, primers and substrate condition. Treating every product as interchangeable is a costly mistake.
Incorrect Product Selection
A waterproofing material can be installed correctly and still fail if it is unsuitable for the location. Roofs experience intense solar exposure and thermal movement. Wet areas face regular cleaning chemicals and standing water. Basements contend with hydrostatic pressure. Podiums and balconies need to accommodate movement while managing drainage.
For example, a rigid cementitious coating may be effective on a stable internal wet area but perform poorly across an active crack or movement joint. Similarly, a membrane intended for intermittent damp conditions may not withstand permanent immersion in a tank or planter. The selected system must match water pressure, expected movement, UV exposure, traffic loads, substrate type and the service life required.
In Dubai, heat and rapid temperature changes add another layer of risk. Materials expand and contract, joints open and roof coatings age faster where specification, thickness and UV resistance have not been properly considered.
Weak Detailing at Joints and Penetrations
Most leaks occur at transitions rather than across the middle of an undamaged membrane. Floor-to-wall junctions, expansion joints, pipe penetrations, drainage outlets, door thresholds, parapets and changes in material all require deliberate detailing.
A common example is a bathroom floor membrane that stops short of the wall upstand, or a pipe sleeve that has been sealed only at the visible surface. Water then enters around the penetration and tracks beneath tiles or screed. In roof systems, poorly terminated membrane edges and inadequately sealed outlets can direct water into the building fabric rather than towards drainage.
These locations need compatible tapes, collars, fillets, sealants or mechanical terminations as specified by the system manufacturer. A bead of general-purpose sealant is not a substitute for a designed waterproofing detail.
Inadequate Membrane Thickness or Coverage
Liquid-applied products are often specified at a minimum dry-film thickness. If installers apply too little material, stretch it too far or miss areas behind services and fittings, pinholes and weak sections become inevitable. The issue may not be visible once tiles, screed, insulation or protective finishes are installed.
Thickness control is especially important on roofs, podium decks, wet rooms and tanks. It should be checked during application, not guessed after the work is concealed. Multiple coats may be required, with adequate curing time between them. Rushing this process can trap moisture or solvents, weaken adhesion and compromise the finished system.
Sheet membranes bring a different risk: insufficient lap widths, poor heat welding, wrinkles and unsealed seams. A system is only as reliable as its overlaps and terminations.
Cracking and Movement in the Structure
Concrete does not remain perfectly still. It shrinks as it cures, moves with temperature changes and can crack due to settlement, loading, vibration or structural movement. Waterproofing that cannot bridge these cracks, or has not been reinforced in vulnerable areas, will eventually split.
Not every crack is a structural emergency, but every active crack should be assessed before repairs are made. Covering it with paint, grout or a thin coating may hide the symptom while allowing moisture to continue travelling behind finishes. The right repair depends on whether the crack is dormant, actively moving, under water pressure or connected to a joint or service penetration.
Movement-related failure is often misdiagnosed as a material issue. In reality, the waterproofing may be responding exactly as expected to a substrate that was never stabilised or detailed for movement.
Poor Drainage and Standing Water
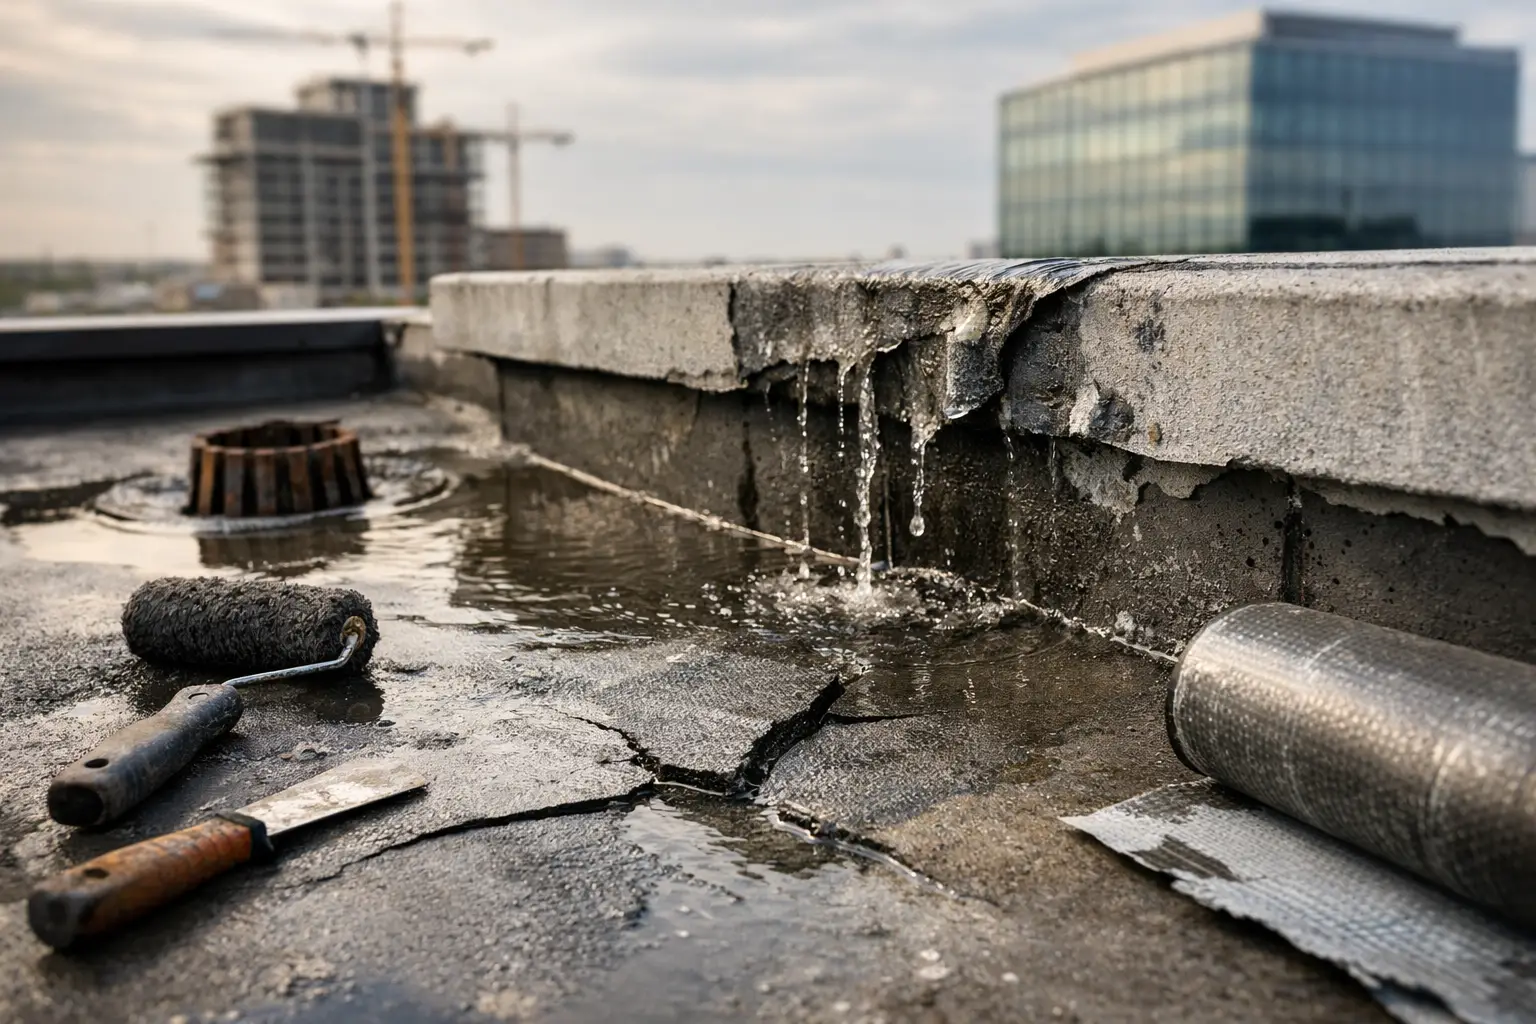
Waterproofing protects the building, but drainage reduces the pressure placed on that protection. Flat roofs, balconies, shower floors, planter boxes and podiums must direct water efficiently towards suitable outlets. Incorrect falls, blocked drains and undersized outlets leave standing water in contact with seals, joints and membrane laps for extended periods.
On a shower floor, poor falls can leave water pooling near walls or around the drain. On a roof, debris can block rainwater outlets, forcing water to pond and find weak points at seams and penetrations. In both cases, a system that might have delivered years of service under normal conditions is exposed to a far harsher environment.
Drainage maintenance is therefore part of waterproofing maintenance. Clearing outlets and inspecting grates before seasonal rain is considerably cheaper than repairing water-damaged ceilings, electrical systems and finishes below.
Damage From Follow-On Trades and Daily Use
Waterproofing is frequently damaged after it has passed its initial inspection. Tilers can puncture membranes with tools. MEP contractors may drill through floors and walls for new pipework. Roof traffic, plant servicing and unprotected storage can tear or compress roof membranes. Even a small puncture can become a major leak path when covered by finishes.
Protection boards, screeds and controlled access are not optional extras on exposed systems. Any later penetration should be recorded and resealed using a compatible method. Facilities teams should also know where waterproofed areas sit beneath finishes before authorising drilling or modifications.
This risk increases during refurbishments, when original drawings are unavailable and multiple contractors work in the same area. A non-invasive assessment before destructive work can prevent unnecessary opening-up and help identify the most likely failure zone.
Failed Sealants and Neglected Maintenance
Sealants around windows, sanitaryware, façade joints, expansion joints and penetrations have a limited service life. UV exposure, cleaning chemicals, movement and poor adhesion cause them to crack, shrink or detach. Because sealant defects are visible and seem minor, they are often ignored until water has already affected the substrate behind them.
Waterproofing systems also need periodic inspection. Roofs need outlet checks and visual reviews after major weather events. Wet areas need attention when grout cracks, tiles loosen or mould repeatedly returns. Tanks, plant rooms and industrial assets require planned testing based on the consequences of failure, not just apparent condition.
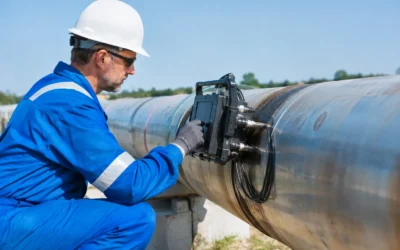
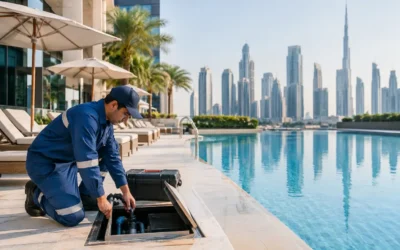
For high-risk or recurring leaks, testing should go beyond visual inspection. Controlled flood testing, pressure testing, thermal imaging, acoustic methods and tracer gas testing can help isolate the source without removing large areas of tile, screed or ceiling. This matters because the visible damp area is often not the entry point.
Why Waterproofing Repairs Often Fail Again
Repeat leaks usually point to a repair that addressed the visible damage rather than the water pathway. Replacing stained plasterboard, regrouting tiles or resealing one obvious crack may improve appearance but will not solve a failed membrane, defective drain connection or leaking pipe hidden nearby.
The correct repair sequence is diagnosis first, access only where evidence justifies it, then repair and verification. For commercial sites, hospitality operators and facilities managers, that approach reduces closure time and avoids replacing sound finishes. For homeowners, it protects against paying twice for the same unresolved issue.
LeakDtech applies non-destructive diagnostic methods to identify hidden water-related failures with greater certainty before repair scope is agreed. The objective is not simply to find moisture, but to establish where water is entering, how it is travelling and what repair will stop it.
Waterproofing should be treated as an asset-protection system, not a finish that can be forgotten once tiles or coatings are in place. When early signs appear, investigate the source promptly, document the findings and repair the full detail – not just the stain it leaves behind.