
A pipe that loses pressure slowly can do far more damage than a dramatic burst. In homes, that often shows up as damp patches, mould growth or a DEWA bill that makes no sense. In commercial and industrial settings, the same issue can mean downtime, asset deterioration, failed inspections and expensive rework. That is why knowing how to test pipework for leaks matters – not as a box-ticking exercise, but as a way to protect property, operations and budgets.
The right test method depends on what you are testing, what the pipe carries, how accessible the line is and how much disruption the site can tolerate. A domestic water line in a villa is not tested in the same way as a chilled water circuit in a plant room or a process line in an industrial facility. Good testing is about accuracy first. If the test method is wrong, you can lose time, miss the actual fault or end up opening floors and walls unnecessarily.
How to test pipework for leaks without guesswork
The first step is to define the system. Is it potable water, irrigation, drainage, chilled water, fire line or process pipework? Is the leak suspected on a pressurised line or a gravity system? Has there already been a repair that failed? These details affect both the test pressure and the detection technique.
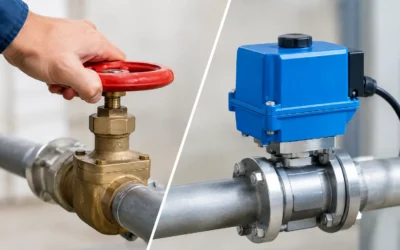
Before any formal test begins, the pipework needs to be isolated properly. That means shutting off connected fixtures, separating the section under investigation where possible and confirming whether pressure loss could be escaping through valves, pumps, tanks or appliances rather than the pipe itself. This is where many false results begin. A pressure drop does not always mean a leak in the buried or concealed pipe. It can also point to poor isolation, a faulty valve or a connected component with internal failure.
Once the section is isolated, the usual starting point is a controlled pressure test. Water or air may be used depending on the system and the site conditions, but the choice is not trivial. Water pressure testing is often preferred on many plumbing systems because it stores less energy than compressed air and can be safer in practical terms. Air testing can still be useful, especially where introducing water is undesirable, but it requires tighter controls and experienced handling.
Pressure testing
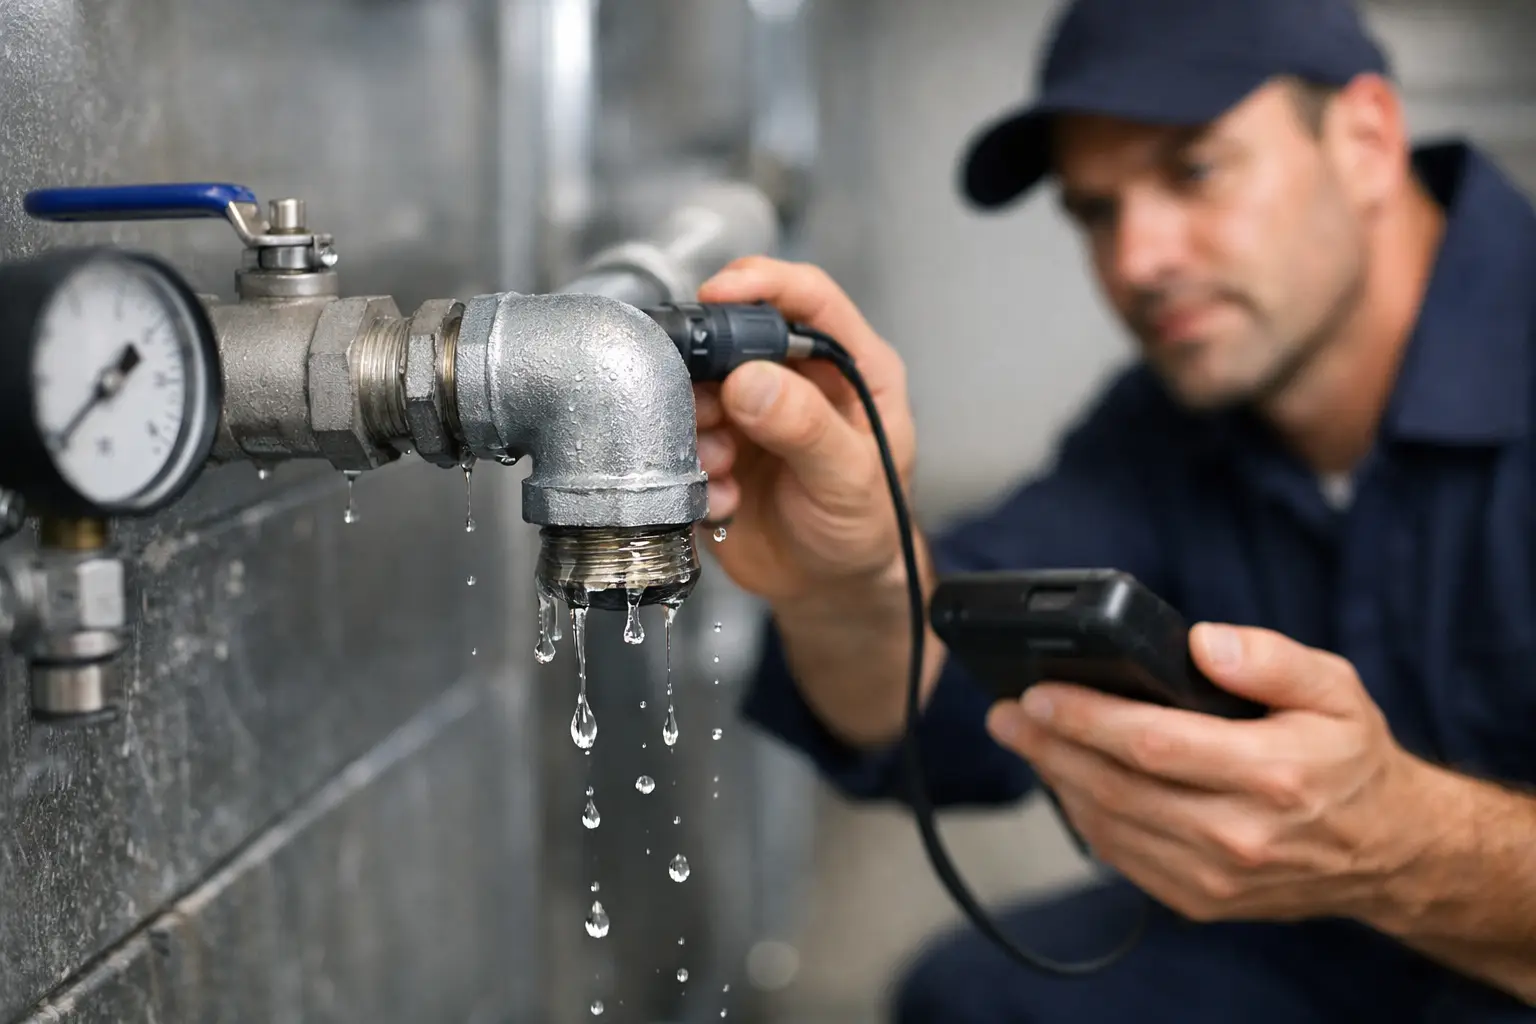
Pressure testing checks whether a pipe section can hold a specified pressure over a set period. If the pressure falls beyond the acceptable tolerance, there is likely a leak or a weakness somewhere in the system. On paper, this sounds simple. In reality, temperature changes, trapped air, pipe material movement and test equipment quality all affect the reading.
Plastic pipework can expand slightly under pressure, which may look like pressure loss at first. Metal systems behave differently. Large networks can also produce misleading results if they have not been stabilised before the timed test begins. A proper procedure usually includes filling or pressurising the line, allowing it to settle, removing air pockets and then starting the measured hold period only when conditions are stable.
Pressure testing tells you that leakage exists. It does not always tell you where. That distinction matters. For some clients, confirming loss is enough to support a warranty claim, inspection record or contractor dispute. For most, the next question is location.
Acoustic leak detection
When pipework is pressurised and leaking, the escaping fluid creates sound and vibration. Acoustic leak detection uses sensitive listening equipment to detect those signatures through floors, walls, ground surfaces or exposed pipe sections. Done well, it can narrow the search area quickly without demolition.
This method works best when the leak is active and the background environment is manageable. A quiet residential property overnight offers very different test conditions from a busy plant room, school or shopping centre. Pipe material also affects results. Metal pipe often transmits leak noise more clearly than plastic. Depth, surface finish and surrounding services can either help or complicate interpretation.
Acoustic testing is highly effective in experienced hands, but it is not magic. Heavy ambient noise, low-pressure seepage and insulated or deeply buried pipework can reduce clarity. In those cases, another method may be needed to confirm the exact point.
When tracer gas becomes the better option
If you need higher pinpoint accuracy on concealed or buried pipework, tracer gas testing is often the stronger choice. The process involves introducing a safe test gas mixture into the isolated pipe section and then scanning above the route with specialised sensors. Because the gas molecules are extremely small, they escape through leak points and rise to the surface, making them easier to detect than water in some situations.
Tracer gas is especially useful where finishes are expensive, where leaks are very small or where previous investigations have failed. It is commonly used on underfloor pipework, external lines, waterproofing investigations and systems where non-invasive accuracy matters more than broad confirmation.
The trade-off is that tracer gas testing requires specialist equipment, competent isolation and a clear understanding of the system layout. It is not a shortcut for poor diagnosis. Used properly, however, it can reduce opening-up costs dramatically.
Thermal imaging and moisture verification
Thermal imaging does not directly test pressure integrity, but it can support leak investigation by identifying temperature anomalies caused by moisture, evaporative cooling or active hot and cold water movement. In buildings, this is often valuable when the leak has already spread beyond the pipe route and the visible damage does not match the source location.
Thermal cameras are best treated as part of a wider diagnostic process rather than a standalone answer. A cool patch under tiles may indicate moisture, but it could also reflect air-conditioning influence, insulation variation or a recent cleaning event. This is why technical confirmation matters. Moisture meters, borescope inspection and pressure data usually need to work together.
How to test pipework for leaks in different environments
Domestic properties usually need speed, minimal disruption and cost control. If there is a hidden water leak behind walls or beneath floors, the objective is not just proving that a leak exists. It is locating it accurately enough to avoid unnecessary tile removal, joinery damage or full bathroom strip-out.
Commercial sites add another layer of risk. Hotels, schools, hospitals and malls cannot always tolerate shutdowns or visible investigative works during operating hours. Testing needs to be planned around occupancy, access windows and service continuity. That often means combining pressure testing with non-invasive location methods so that repairs are limited to one known point rather than a trial-and-error search.
Industrial and petrochemical environments require stricter controls again. Here, leak testing may form part of integrity assurance, shutdown planning, maintenance verification or compliance support. Test medium selection, safety controls, calibration, reporting and permit conditions all become more critical. There is less room for assumptions because the cost of being wrong is much higher.
Common mistakes that lead to bad results
The biggest mistake is relying on pressure loss alone and assuming the fault sits in the pipe route. Isolation failures are common, particularly in larger systems with multiple branches and ageing valves. Another issue is testing at the wrong pressure or for the wrong duration. An under-tested line may appear sound. An over-pressurised test can create new problems.
There is also the matter of context. A recurring leak after repeated repairs may point to movement, poor installation, incorrect materials, pressure surges or workmanship defects rather than a single isolated hole. If that underlying cause is ignored, the same asset will keep failing. This is where engineering-led diagnostics add real value. The objective is not only to find the leak, but to understand why it happened and how to stop the cycle.
When to call a specialist
If the pipework is concealed, the water loss is significant, the building has already suffered damage or previous contractors have failed to locate the issue, specialist testing is usually the more cost-effective route. The same applies where the site carries operational risk, such as healthcare, hospitality, district cooling, industrial processing or fire protection infrastructure.
A specialist team will usually combine methods rather than rely on one tool. Pressure testing confirms integrity failure. Acoustic and tracer gas methods narrow location. Thermal imaging and moisture verification help map the spread. Reporting then gives the client something usable – whether that is for repair targeting, insurance, contractor accountability or maintenance records. That is the standard expected from firms such as LeakDtech, where leak detection is treated as a technical investigation rather than a guessing exercise.
If you are deciding how to proceed, focus on one question: do you need proof of leakage, the exact location, or both? The answer will shape the test method, the budget and the likely repair cost. Get that part right, and you stop paying for the same water loss twice – once on the bill, and again in damaged finishes, failed repairs and wasted time.