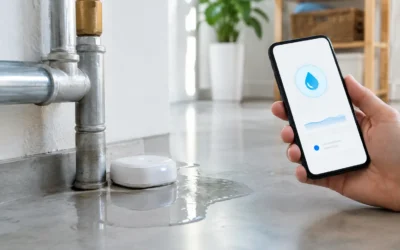

A water bill that jumps for no obvious reason is rarely a billing mistake. More often, it is the first sign you need to know how to detect concealed water leaks before they turn into damaged finishes, mould growth, structural deterioration, or a much larger repair bill.
The difficulty with hidden leaks is simple: water does not always appear where the failure starts. A leaking pipe inside a wall may show up as blistering paint in the next room. A failed waterproofing detail on a roof or terrace may stain a ceiling several metres away. In commercial and industrial settings, concealed losses can sit behind cladding, beneath slabs, inside risers, under plant room floors, or within buried lines while operating costs quietly rise.
That is why effective leak detection starts with evidence, not guesswork. The goal is to confirm whether water is escaping, narrow down the likely zone, and then use the right diagnostic method to pinpoint the source with minimal disruption.
How to detect concealed water leaks before damage spreads
The earliest indicators are usually indirect. You may notice a persistent damp smell, discolouration on paint, warped skirting, bubbling plaster, peeling wallpaper, mould spots, or damp patches that return after redecoration. In some buildings, the warning sign is acoustic – a faint hiss in a wall cavity or the sound of running water when all outlets are shut.
In occupied properties, clients often first notice secondary symptoms rather than visible water. Timber flooring begins to cup. Joinery swells. Silicone around sanitary fittings fails repeatedly. Air conditioning spaces feel unusually humid. In villas, flats, hotels, schools and healthcare sites, these signs matter because concealed leaks often travel through shared construction zones and can affect adjacent units or operational areas before the leak source is identified.
The pattern also matters. A stain that darkens after shower use points to a different failure from one that worsens only during irrigation cycles or after a tank refill. If symptoms appear continuously, a pressurised pipe leak is more likely. If they appear intermittently, the problem may be linked to appliance use, drainage discharge, waterproofing defects, or mechanical systems with cycling pressure.
Start with the water meter and usage pattern
If you want the fastest practical check, start at the meter. Shut off all taps, appliances, irrigation systems and any equipment that uses water. Make sure no cistern is refilling and no cooling or process line is drawing water during the test window. Then observe the meter.
If the reading continues to move, there is a strong chance water is escaping somewhere on the system. This is one of the clearest first steps in how to detect concealed water leaks because it tells you whether the problem is active even when nothing is visibly running.
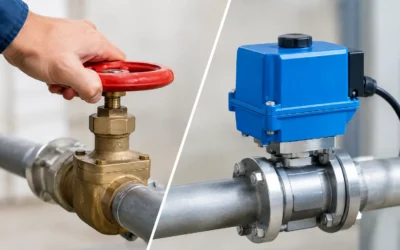
For larger premises, this becomes more useful when split by zone. Isolate sections where possible – accommodation, irrigation, kitchens, plant areas, fire lines or external services – and compare readings. In a residential setting, this may be limited to the main incoming supply. In commercial and industrial sites, sectional isolation can reduce search time dramatically and avoid unnecessary opening-up works.
A meter test is valuable, but it does not tell you where the leak is. It only confirms that water loss exists within the tested section. That distinction matters because too many repair attempts begin before the source is properly proven.
Pressure testing helps confirm the affected line
Where the system layout allows, pressure testing is often the next step. This involves isolating a pipework section and monitoring whether pressure drops under controlled conditions. A stable result suggests the line is intact. A falling result indicates a probable leak or system weakness.
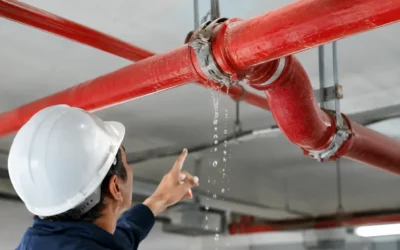
Pressure testing is especially useful when the failure could be in hot and cold water lines, irrigation loops, boosted systems, concealed bathroom supplies, district cooling make-up lines, or buried external pipework. It gives technical certainty that a specific circuit is compromised before more advanced location methods are used.
There is, however, a trade-off. Pressure testing confirms loss, but on its own it still may not identify the exact leak point. That is why the best results usually come from combining pressure data with instrument-based tracing methods.
Non-invasive tools that pinpoint hidden leaks
Modern leak detection is most effective when it avoids unnecessary demolition. In many cases, the source can be narrowed down using non-invasive methods before any finishes are disturbed.
Thermal imaging
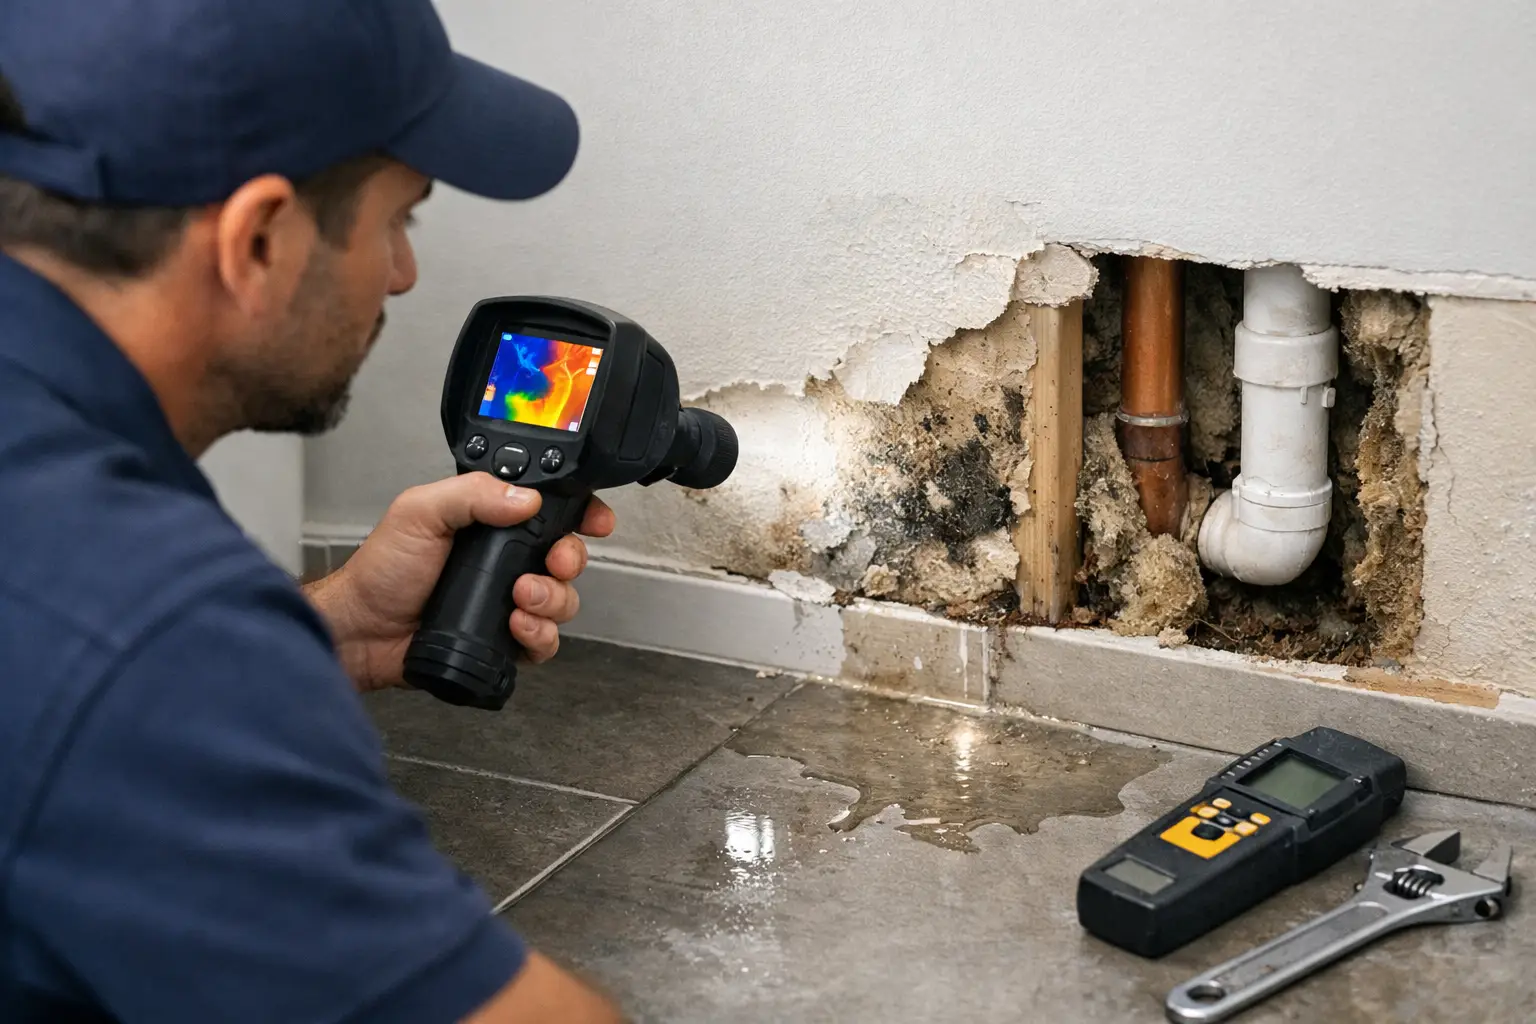
Thermal imaging identifies surface temperature differences that may indicate moisture movement, evaporative cooling, hot water pipe losses or concealed saturation. It is particularly useful for underfloor heating issues, hot water line leaks, roof and waterproofing investigations, and internal wall or ceiling anomalies.
Thermal imaging is not an X-ray. It does not see through walls and it does not prove every leak by itself. What it does well is show temperature patterns that help an experienced technician map likely moisture paths and focus the next stage of testing.
Acoustic leak detection
Pressurised leaks often generate sound as water escapes from a pipe or fitting. Acoustic sensors and listening devices can detect those frequencies through surfaces, particularly on metallic or rigid pipe systems. In quieter environments, this can be highly effective for buried supply lines, risers, valve chambers and concealed plumbing.
Results depend on site conditions. Background noise, pipe material, depth and pressure all affect clarity. Plastic pipe, soft ground and busy operational settings can make acoustic work more complex, which is why interpretation matters as much as the equipment itself.
Tracer gas testing
Tracer gas is one of the most precise methods for difficult concealed leaks. A safe test gas is introduced into an isolated line, and sensitive detectors are used to locate where it escapes. This is especially valuable where pipework runs beneath screed, behind finishes, across large floor plates, or through areas where demolition would be expensive or disruptive.
For high-value interiors, occupied assets and technically complex sites, tracer gas often provides the certainty needed to open one targeted area instead of several speculative ones.
Moisture mapping and inspection methods
Moisture meters, borescopes and technical inspection techniques help confirm the extent of water migration and distinguish between active leakage, historic staining and condensation-related issues. This is important because not every damp area comes from a pipe failure. Misdiagnosis is one of the main reasons leak problems recur after repair.
Domestic, commercial and industrial leaks are not diagnosed the same way
A homeowner with a rising water bill and damp skirting needs a fast answer with minimal mess. A facilities manager may need documented findings, zone isolation and a repair plan that protects occupants and avoids business interruption. An industrial operator may be dealing with process lines, storage systems or buried infrastructure where shutdowns carry major cost.
The principles of how to detect concealed water leaks remain similar, but the method changes with the environment. In residential properties, plumbing lines, bathrooms, roofs, terraces and irrigation are common suspects. In hospitality, healthcare and education sites, leak detection has to work around occupancy, hygiene and service continuity. In industrial and petrochemical settings, inspection may involve pressure-critical systems, NDT-related techniques, compliance requirements and tightly controlled access.
This is where engineering-led diagnosis matters. The right team does not just look for wet patches. They assess system behaviour, construction type, service drawings where available, asset criticality and the financial risk of getting it wrong.
When to stop looking and call a specialist
If your meter is moving with all outlets off, if moisture keeps returning after repairs, or if you are seeing mould, staining or unexplained pressure loss, the cost of delay usually exceeds the cost of proper detection. The same applies if previous contractors have repaired symptoms without proving the source.
Specialist leak detection becomes essential when the leak is beneath flooring, inside walls, under external paving, within a roof build-up, inside a tank or line network, or anywhere that trial-and-error demolition would be costly. It is also the right step when insurers, developers, landlords or FM teams need documented evidence and a clear technical basis for remedial work.
A company such as LeakDtech approaches this with the tools and methodology to locate leaks accurately without turning diagnosis into a refurbishment project. That precision saves money twice – first by reducing damage and second by avoiding repairs in the wrong place.
The real value in concealed leak detection is not simply finding water. It is finding the exact failure point quickly enough to protect the asset, control the repair scope and keep disruption to a minimum. If the signs are already there, acting early is usually the cheapest decision you will make.