
A leak rarely announces itself at the point where the real failure sits. The stain on a ceiling tile, the damp skirting, the unexpected spike in your water bill, or the mould smell in a plant room are usually downstream symptoms. A proper building leak investigation guide starts with that reality – visible damage is evidence, not proof of source.
That distinction matters because too many leak investigations still begin with demolition, assumptions, or a repair to the most obvious wet area. For homeowners, that means repeat call-outs and rising refurbishment costs. For facilities teams, hotels, hospitals, schools, malls, and industrial operators, it can mean disruption, asset damage, tenant complaints, insurance friction, and avoidable shutdown risk. The objective is not simply to find water. It is to identify the exact mechanism of failure, confirm the source, and define the most efficient repair path.
What a building leak investigation guide should achieve
A useful building leak investigation guide is not a checklist of wet patches. It is a structured process for separating symptoms from causes. In practice, that means establishing whether the issue comes from a pressurised water line, drainage, waterproofing failure, façade defects, roof detail failure, irrigation, pool systems, fire networks, chilled water pipework, condensate, or groundwater movement.
Each category behaves differently. A domestic supply leak may show as a constant pressure loss or unexplained consumption. A waterproofing defect may only appear after cleaning, irrigation cycles, or rainfall. Condensation can mimic penetration, particularly in ceiling voids and poorly insulated service zones. If the wrong failure type is assumed at the start, the rest of the investigation goes off course.
That is why good diagnostics rely on evidence stacking. One sign on its own is rarely enough. Thermal patterns, acoustic response, moisture readings, tracer gas behaviour, pressure testing results, construction details, and usage history need to align before a repair recommendation is made with confidence.
Start with the failure pattern, not the damage mark
The first stage is to define the pattern. Is the leak active all day, only at certain times, or only after a system operates? Does it worsen when upper-floor bathrooms are used, when irrigation runs, or when cooling demand rises? Is there pressure loss in a closed line? Has a previous repair changed the symptom without resolving it?
These questions sound basic, but they save time and money. A wall stain near a bathroom does not always mean the bathroom is leaking. Water can track along conduits, slab reinforcement, pipe sleeves, or blockwork cavities before appearing several metres away. Likewise, water on a floor below a roof is not always a roof leak. It may be pipework, condensate overflow, expansion tank issues, or poor sealing around service penetrations.
For larger buildings, pattern analysis is even more valuable. If multiple units report similar symptoms on the same elevation, façade or waterproofing failure becomes more likely. If isolated areas in a riser stack are affected, shared services or drainage defects deserve closer attention. If industrial assets show recurring losses, process operating conditions and maintenance history must be considered alongside physical inspection.
The core methods used in leak investigations
Non-invasive testing is usually the most cost-effective route because it reduces guesswork before repairs begin. The right method depends on the type of asset, access conditions, material, and suspected failure mode.
Thermal imaging for temperature anomalies
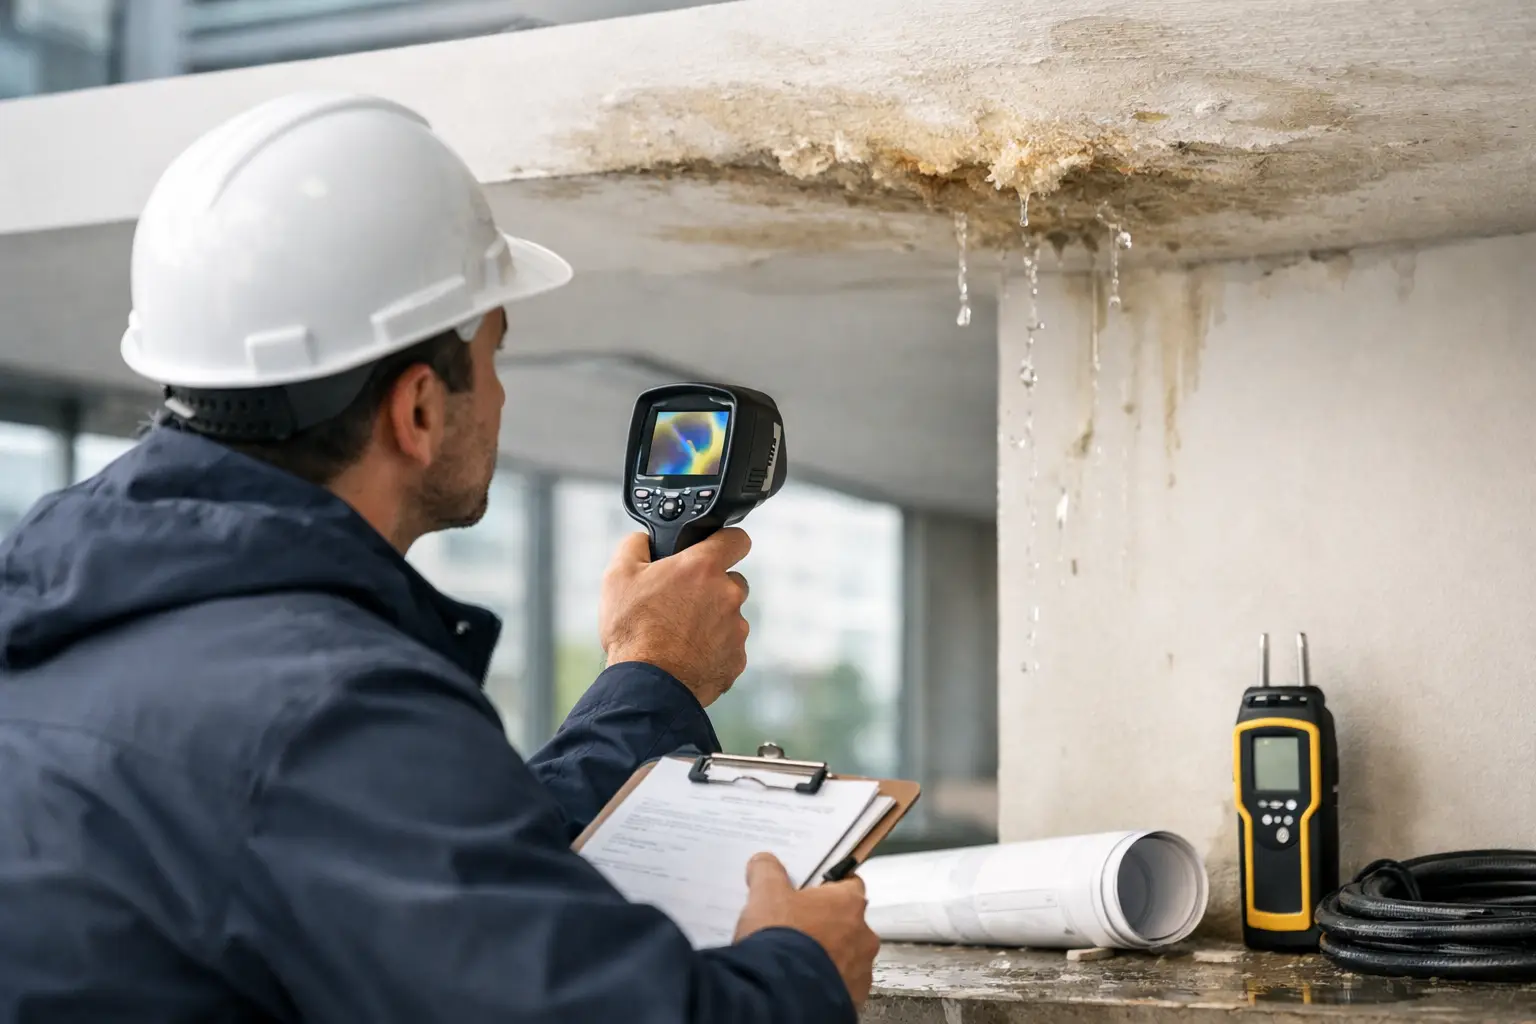
Thermal imaging helps identify temperature differences associated with moisture, evaporative cooling, active water movement, and concealed pipework. It is fast and clean, and particularly useful across ceilings, walls, service shafts, flat roofs, and floor zones.
But thermal imaging is not magic. A cold patch is not automatically a leak. Air-conditioning influence, solar loading, shading, and material changes can all distort readings. Used correctly, thermal imaging narrows the target area and helps correlate other findings. Used in isolation, it can produce false confidence.
Acoustic detection for pressurised leaks
Acoustic equipment detects the noise signature created by water escaping under pressure. This is highly effective on live supply lines, buried services, and certain networked systems where leak sound transmits through pipe material and surrounding structure.
Performance depends on conditions. Pipe depth, material type, background noise, flow characteristics, and isolation options all influence results. In a quiet villa or residential block, acoustic detection can be very precise. In a noisy plant room or busy industrial environment, the investigation may need additional controls or secondary confirmation methods.
Tracer gas for difficult concealed leaks
Tracer gas is often used when standard methods are inconclusive, especially in buried or concealed pipework. A safe test gas is introduced into the isolated line, and highly sensitive detectors are used to identify where it escapes.
This method is valuable when a system cannot be opened up blindly or when previous repair attempts have failed. It is especially useful where floor finishes, landscaped areas, or critical operational spaces make destructive searching expensive.
Pressure testing and sectional isolation
Pressure testing remains one of the most important steps in any building leak investigation guide. It helps determine whether a line is losing integrity and whether the fault is likely to sit within a tested section.
Sectional isolation matters because it converts a broad suspicion into a manageable test zone. In domestic properties, that may mean separating hot and cold services, irrigation, pools, and external feeds. In commercial or industrial settings, it may involve risers, branch circuits, tank connections, fire lines, or process sections. A pressure drop without sectional logic still leaves too many possibilities.
Why visual inspection still matters
Technology should sharpen the investigation, not replace field judgement. A trained visual inspection often reveals construction and maintenance details that explain why the leak exists in the first place.
Failed sealant joints, cracked grout, poor pipe supports, unprotected roof penetrations, blocked drains, incorrect falls, membrane termination defects, corrosion, impact damage, and historic poor workmanship all matter. So does the age of the asset and whether recent refurbishment introduced new interfaces between old and new materials.
This is where many repeat leaks are misunderstood. The source may be found, but the root cause is missed. A burst flexi hose is one event. Why it failed is another. Excess pressure, poor installation, heat exposure, vibration, or cheap replacement parts can turn a one-off repair into a recurring problem if ignored.
Common investigation mistakes that increase costs
The most expensive leak is often the one repaired too early and too vaguely. Cutting open walls before confirming the source may create reinstatement costs without solving the fault. Applying waterproof coatings to a surface issue when the real cause is a concealed pipe leak usually delays proper repair. Replacing fittings because they are nearby, rather than because they are proven to fail, wastes money and time.
Another common mistake is treating all moisture as the same. In occupied buildings, not every damp mark comes from a live leak. Condensation, humidity imbalance, vapour migration, cleaning regimes, and poor ventilation can all create symptoms that resemble ingress. The reverse is also true – assuming condensation when there is actually concealed pipe failure can allow damage to spread behind finishes.
Documentation is often overlooked as well. For insurers, facilities managers, developers, and contractors, a leak investigation should produce a clear technical record. That includes the symptoms observed, systems tested, methods used, results obtained, and the confidence level behind the diagnosis. Without that, repair scope tends to drift and accountability becomes blurred.
Leak investigation in homes versus complex facilities
A house or flat leak investigation often centres on water bills, bathroom leakage, roof ingress, underground supply lines, or air-conditioning-related moisture. Speed matters because occupants want normal living conditions restored quickly and with minimal mess.
In commercial buildings, the investigation usually carries broader consequences. Tenant satisfaction, service continuity, stock protection, health and safety, and reputational risk all come into play. A hotel cannot afford repeated room closures. A hospital cannot tolerate avoidable disruption in sensitive zones. A school or mall must manage footfall, access, and safety while testing is under way.
Industrial and petrochemical environments raise the stakes further. Here, leak investigation may intersect with compliance, operational integrity, product loss, corrosion risk, and shutdown planning. Testing methods must align with site controls, asset criticality, and system characteristics. Precision is not just about saving on reinstatement. It is about protecting uptime and reducing exposure to larger technical failures.
When to escalate to a specialist team
If the leak has returned after repair, if no obvious source is visible, if the affected area is spreading, or if the building contains high-value finishes or critical operations, specialist diagnostics are usually justified early. The same applies when multiple contractors have offered conflicting opinions.
Engineering-led investigation shortens the path from symptom to proof. A specialist team can combine methods rather than relying on one tool, and that usually produces a more defensible diagnosis. For property owners and operators, that means less guesswork, fewer intrusive searches, and a clearer repair brief. Companies such as LeakDtech are often brought in precisely at this point – when the cost of being wrong is already too high.
A leak does not become cheaper by waiting for the damage mark to get bigger. The smart move is to treat the first sign as a diagnostic problem, not just a repair job, and act before hidden water turns into visible loss.