A leak rarely starts as an emergency. It starts as a small pressure drop, a damp patch behind a wall, an unexplained spike in water consumption, or a failed seal that nobody notices until damage is already spreading. That is why an annual leak inspection checklist matters. It turns leak detection from a reactive expense into a planned control measure that protects buildings, infrastructure, and operating budgets.
For homeowners, that may mean avoiding ceiling damage, mould growth, and inflated utility bills. For facilities teams, hotels, schools, hospitals, and industrial operators, it can mean preventing shutdowns, preserving compliance records, and reducing the cost of intrusive repairs. The key point is simple – leaks are cheaper to find early than to repair late.
What an annual leak inspection checklist should actually cover
A useful checklist is not just a walkaround with a torch. It should combine visual inspection, system performance checks, consumption review, and targeted testing where risk is higher. The scope depends on the type of property, the age of the network, previous leak history, and the consequence of failure.
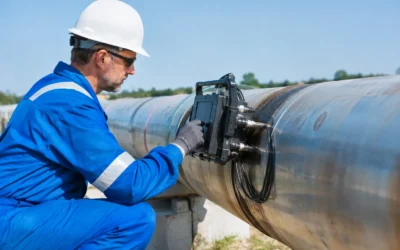
In a house or flat, the inspection usually focuses on plumbing fixtures, concealed pipework indicators, roof and waterproofing details, irrigation, tanks, and pool systems where relevant. In a commercial or mixed-use building, attention expands to risers, plant rooms, chilled water lines, drainage interfaces, washrooms, fire lines, and tenant areas where hidden losses can continue for months. In industrial and petrochemical settings, the checklist needs a more technical layer, including NDT support, pressure integrity concerns, operational risk, and asset-critical pipework.
That variation matters because not every leak presents in the same way. A domestic bathroom leak may show up as blistering paint. A buried irrigation leak may only appear as soft ground and unexplained water top-ups. A process line issue may present through pressure instability, product loss, corrosion patterns, or abnormal readings on associated equipment.
Start with the records before the inspection starts
The strongest inspections begin with data. Before anyone tests a valve or lifts a ceiling tile, review the last 12 months of water consumption, maintenance logs, repair records, and complaint history. If a property has repeated top-up events, recurring damp complaints, unexplained bill increases, or multiple repairs in the same zone, those are not isolated incidents. They are inspection priorities.
For managed properties and commercial sites, this first stage often identifies where money is already being lost. High consumption outside expected occupancy patterns, frequent pump cycling, or recurring waterproofing defects can signal hidden leakage even when no obvious damage is visible.
This is also the right time to confirm available drawings and asset layouts. Many difficult leak investigations become slower and more expensive because valve locations, pipe routes, and previous modifications were never documented properly.
Annual leak inspection checklist for high-risk areas
The inspection itself should move logically from visible points of use to concealed and system-level risks. Bathrooms, kitchens, utility areas, roofs, plant rooms, tanks, irrigation networks, basements, and external service connections all deserve attention.
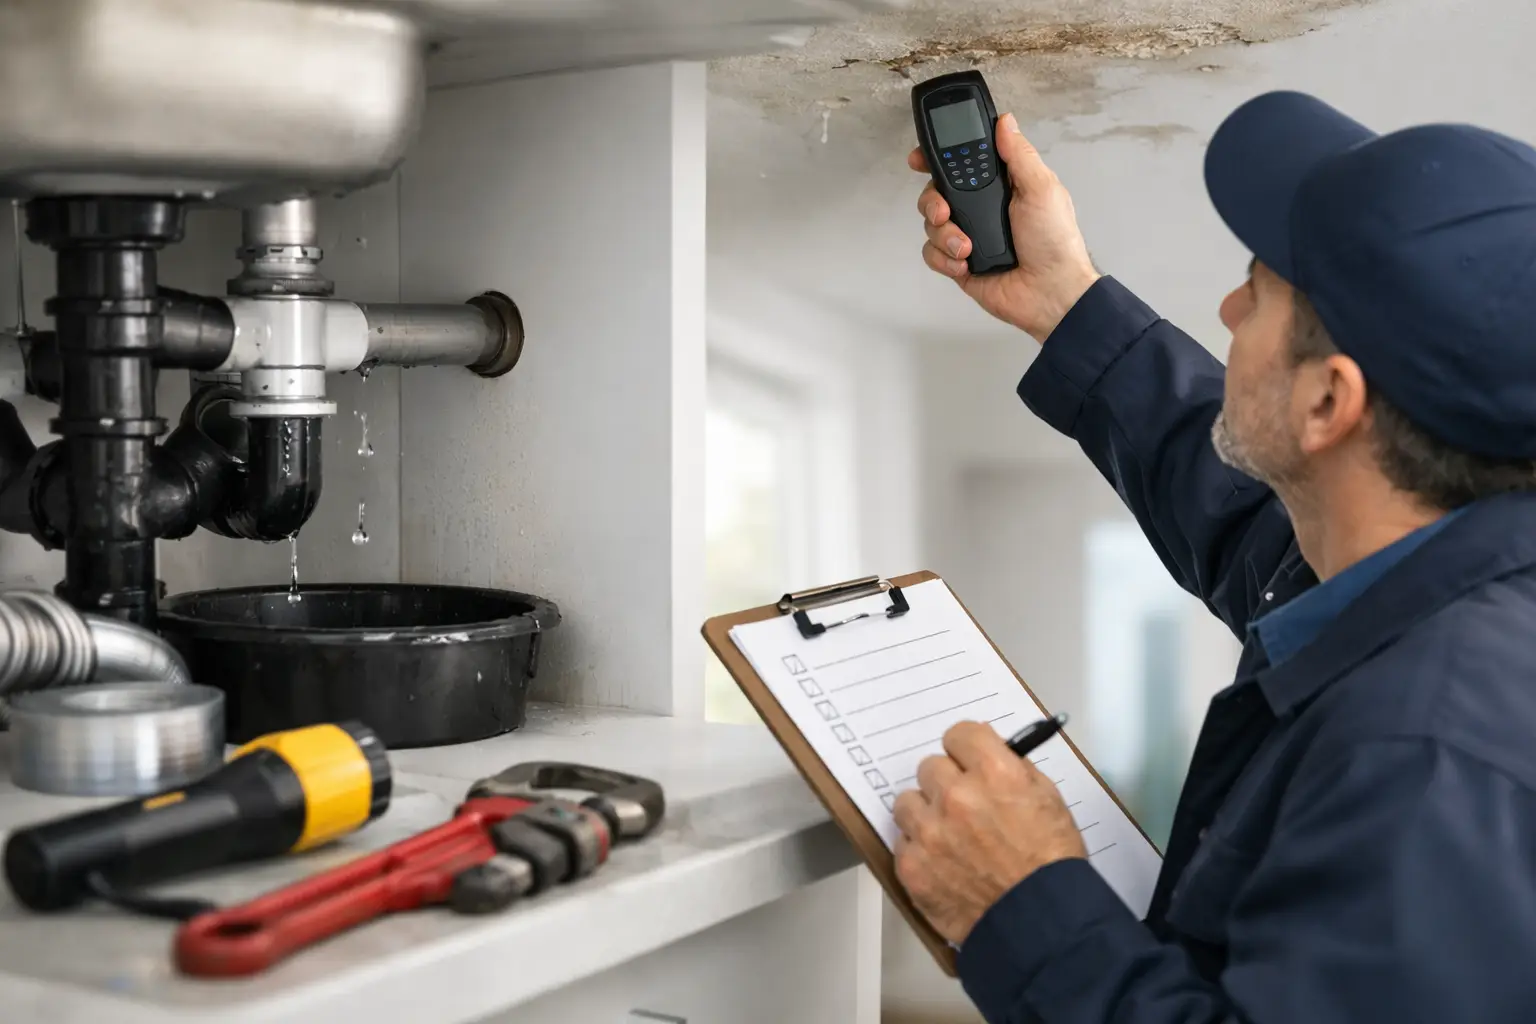
Fixtures are the easiest place to begin. Check taps, mixers, shower sets, WC cisterns, flexi hoses, appliance connections, water heaters, and exposed isolation valves. Drips are obvious, but slow seepage around joints, staining below fittings, and mineral deposits around connectors often indicate a developing failure rather than a harmless blemish.
Walls, floors, and ceilings then need a moisture-focused assessment. Discolouration, bubbling paint, warped skirting, cracked grout, swollen joinery, and persistent odours all suggest moisture migration. The source is not always directly above or next to the damage. Water travels, and that is why visual clues alone are useful but not definitive.
External areas are often missed in annual inspections, yet they are a common source of waste. Irrigation systems, hose bibs, underground supply lines, valve boxes, and landscape zones should be checked for wet patches, eroded soil, unusually green planting, or pressure inconsistencies. On larger sites, these losses can continue for long periods because they do not affect internal occupier comfort until the bill arrives.
Tanks, pools, and associated circulation systems should also be reviewed where present. Unusual refill frequency, fluctuating levels, wet plant room conditions, and unexplained chemical imbalance can all point to leakage. In commercial and leisure settings, this has a direct cost impact beyond water loss because associated plant may work harder to maintain normal conditions.
Where instrumentation and non-invasive testing add real value
A proper checklist should not assume every problem can be found by eye. Hidden leaks often require technical confirmation. This is where acoustic testing, thermal imaging, tracer gas methods, pressure testing, and moisture diagnostics make the inspection commercially useful rather than cosmetic.
Thermal imaging can help identify temperature anomalies linked to concealed moisture or pipe routes, particularly behind finished surfaces. Acoustic methods are effective for pressurised water lines where sound signatures can help narrow the leak location. Tracer gas is especially valuable when other methods are limited by low noise conditions, complex construction, or non-metallic pipe materials. Pressure testing provides system-level evidence that a network is or is not holding integrity.
The right method depends on the property and the system involved. Thermal imaging is fast and clean, but it does not replace confirmation testing. Acoustic detection is powerful, but background noise and access conditions affect results. Tracer gas is highly effective in the right hands, but it is not necessary on every job. A good annual inspection uses the method that fits the risk, not a one-size-fits-all process.
Why different sectors need different checklist priorities
A domestic property inspection is mostly about preventing repair escalation. A commercial building inspection is about asset protection, occupant comfort, and controlling maintenance spend. In healthcare, hospitality, education, and retail environments, leak risk also affects service continuity and reputation.
For facilities managers, the annual leak inspection checklist should give particular attention to concealed pipework, wet area waterproofing, risers, pump rooms, and billing anomalies by zone or meter. In multi-building communities, common area losses and buried infrastructure should not be overlooked simply because no tenant has complained yet.
Industrial and petrochemical sites require a stricter risk lens. The concern is not just water damage. It may involve environmental exposure, production losses, shutdown risk, safety hazards, or the failure of critical containment systems. In these environments, annual leak inspections must align with engineering controls, maintenance planning, and reporting requirements. Speed matters, but technical certainty matters more.
Common mistakes that make annual inspections ineffective
The biggest mistake is treating the inspection as a compliance exercise rather than a diagnostic one. If the checklist only records what is obviously broken, it misses the hidden failures that cause the largest costs later.
Another common issue is separating visual inspection from consumption analysis. A building can look fine and still lose significant volumes through concealed pipework, irrigation, or tank systems. If nobody compares meter data with expected usage, that leak may remain active for another year.
There is also a tendency to stop at symptom level. A stained ceiling gets repainted. A failed seal gets replaced. A patch of mould gets cleaned. If the underlying moisture path is not confirmed, the problem returns and the repair cycle repeats. That is exactly the pattern that drives up lifecycle cost.
Turning the checklist into an action plan
An inspection only creates value if it leads to prioritised action. Findings should be ranked by urgency, likely source, financial impact, and disruption risk. An active pressurised leak in a concealed supply line needs a different response from ageing sealant around a sink, even if both appear on the same report.
The most useful reports are clear about what was observed, what was tested, what remains unconfirmed, and what should happen next. That may include immediate repair, further diagnostic testing, ongoing monitoring, or planned remedial works during a maintenance window. For larger clients, documented reporting also supports budgeting, insurance discussions, contractor accountability, and long-term asset management.
For this reason, many property stakeholders now treat annual inspections as part of preventive maintenance rather than a once-a-year formality. LeakDtech approaches it that way – as a technical intervention designed to reduce uncertainty, protect assets, and stop minor losses becoming major failures.
If you are setting your inspection plan for the year, use the checklist as a decision-making tool, not a tick-box exercise. The right inspection does more than find leaks. It helps you avoid disruption before it starts.