A pool that needs regular topping up is not automatically leaking. In Dubai, heat, wind and long pump run-times can remove a surprising amount of water. But when the water level falls faster than expected, chemicals need constant rebalancing, or damp patches appear around the pool shell, waiting can turn a contained defect into damaged finishes, rising DEWA bills and costly excavation. Knowing how to test swimming pool leaks starts with separating evaporation from genuine water loss.
A good test does more than confirm that water is disappearing. It helps establish whether the failure is in the pool structure, the circulation pipework, a fitting or the equipment area. That distinction determines whether the repair is a targeted intervention or an unnecessary and disruptive search.
First, rule out normal evaporation
Evaporation changes with temperature, humidity, wind exposure, water temperature and whether the pool is covered. A heated pool, infinity edge or water feature can lose more water than a still, shaded pool. This is why visual judgement alone is unreliable.
Start by bringing the pool to its normal operating level. Turn off automatic top-up systems and note the water level against a fixed point, such as the skimmer faceplate or a tile joint. Check that the pump timer, heating and water features are set as they would be during normal use.
If the pool is losing water rapidly enough to expose the skimmer opening, switch off the circulation equipment before air can enter the system. Running a pump dry can damage seals, impellers and motors, creating a second problem while you are trying to diagnose the first.
Use the bucket test for a reliable first indication
The bucket test is the most practical initial method for homeowners and facilities teams. It compares evaporation inside a bucket with water loss from the pool under the same conditions.
Place a clean bucket on a pool step so the water inside the bucket is at approximately the same level as the water outside it. Add pool water to the bucket, then mark both levels clearly with waterproof tape or a pencil mark. Avoid placing the bucket on the pool deck, where its water temperature may differ significantly from the pool.
Leave the system in its usual operating state for 24 hours, then compare the two marks. For stronger evidence, repeat the test for another 24 hours with the pump switched off, provided the pool can safely remain idle for that period.
If the pool level drops more than the bucket level, there is likely a leak. If the difference is much greater while the pump is running, suspect a pressure-side pipe, return line, heater connection, filter, pump seal or water feature line. If loss is greater with the pump off, the issue may be on the suction side, within the pool shell, or at a fitting below the waterline.
The bucket test confirms a pattern. It does not locate the failure. A small measurement error, rainfall, bather use or an automatic fill valve can distort the result, so control those variables as far as possible.
Inspect the obvious areas before testing pipework
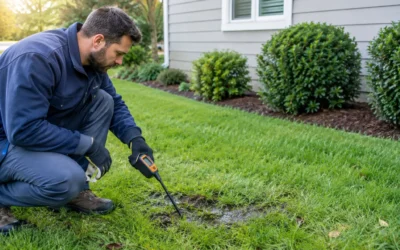
Once a leak is likely, carry out a methodical visual inspection. Look around the pump, filter, valves, heater, chlorinator, balance tank and any exposed pipe connections. A slow drip may only be visible while the circulation system is running, so inspect before and after the pump cycle.
Check for wet soil, unusually green landscaping, pooling water in plant rooms, white scale around fittings, corrosion on equipment, and loose or cracked unions. In a tiled pool, pay attention to missing grout, cracked tiles and gaps around skimmers, lights, return inlets, main drains and overflow channels. These signs do not prove the exact leak point, but they narrow the investigation.
A leak near electrical fittings requires caution. Do not remove pool lights, open junction boxes or interfere with electrical connections unless the circuit is safely isolated and the work is being completed by a qualified professional.
Read the stopping level
The level at which a pool stops losing water can provide a useful clue. Allow the water to fall naturally only if doing so will not compromise the pump, tile line, waterproofing or surrounding finishes. Never let the level drop below the skimmer mouth while the system is operating.
If water loss slows or stops at the level of a light fitting, return inlet or skimmer, that fitting deserves close inspection. If it continues below the fittings, the leak may be in the shell, floor, main drain line or a lower pipe run. This is an indicator rather than a verdict: several leaks can exist at once, and a pool may still lose water through pipework regardless of the internal water level.
How to test swimming pool leaks in the plumbing system
Pipework testing should be controlled and documented. The purpose is to isolate individual circuits and determine whether they can hold pressure or vacuum. In a typical pool, these circuits may include skimmer suction, main drain suction, vacuum line, return lines, spa jets, water features, heating loops and overflow systems.
A technician first isolates the line at accessible valves and seals the relevant openings with test plugs. The line is then pressure tested with air or water at a suitable test pressure for the pipe material, configuration and system design. Pressure is monitored over a defined period. A meaningful pressure reduction, after allowing for temperature stabilisation and equipment tolerances, indicates a compromised circuit.
This is not a job for improvised high-pressure air testing. Excessive pressure can damage fittings, dislodge plugs and create a serious safety risk. It can also mask the original issue by causing new failures. For commercial pools, hotels and high-use facilities, a documented line-by-line test is particularly valuable because it supports repair planning and reduces avoidable shutdown time.
Use dye testing carefully around suspected defects
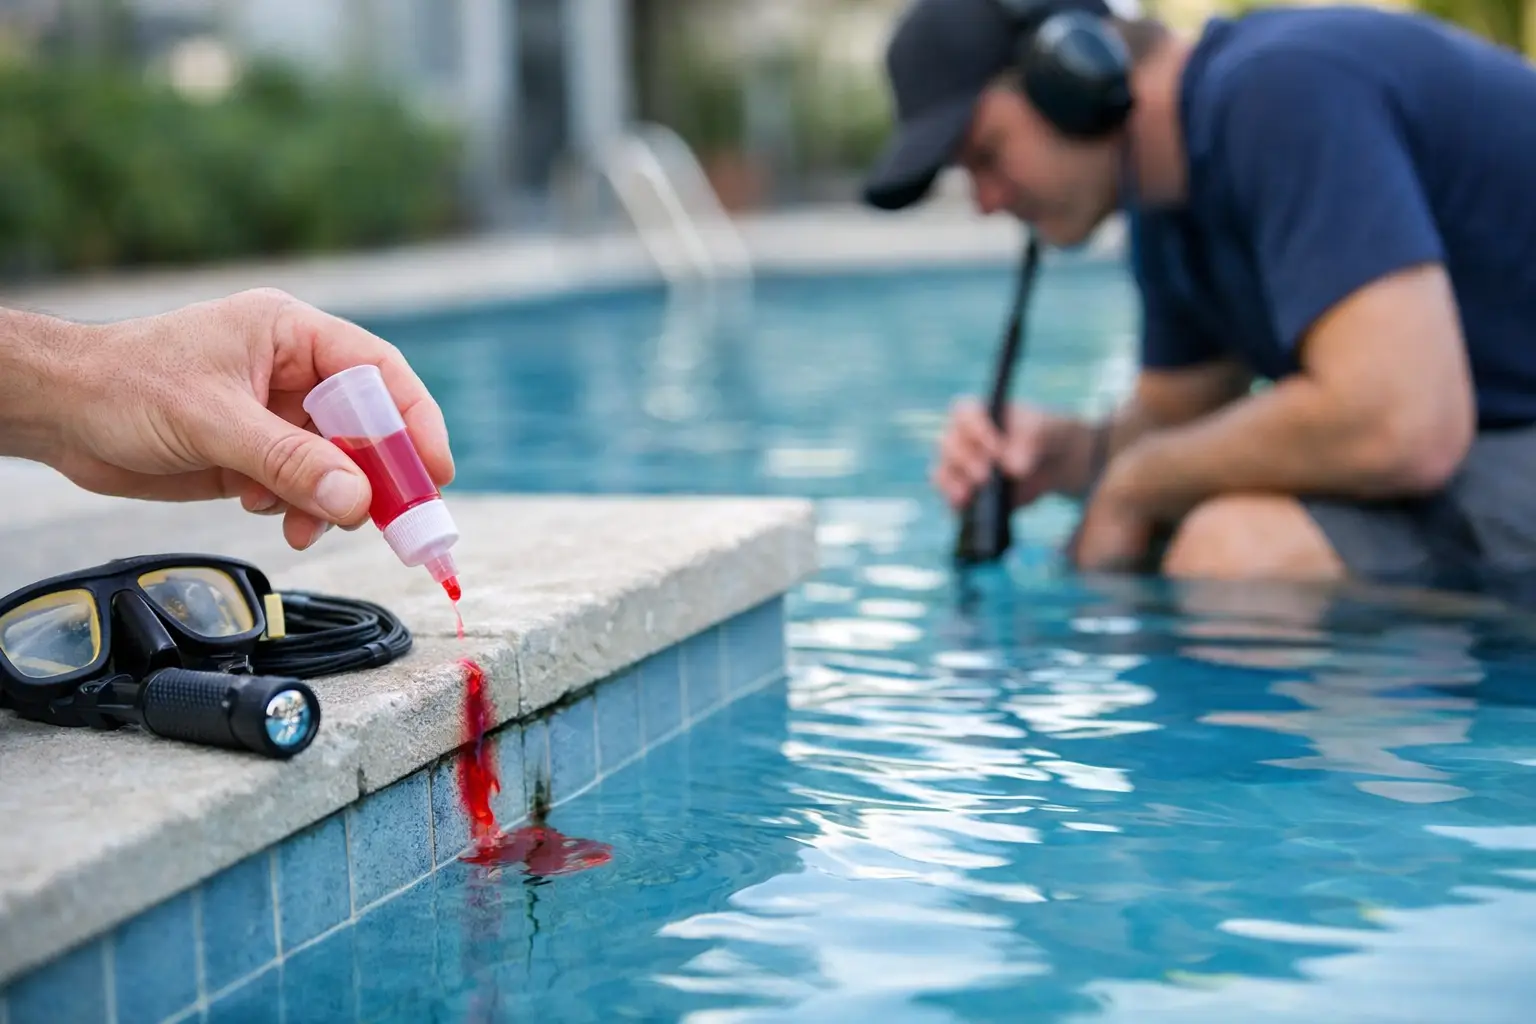
Dye testing can help confirm a leak at a visible crack, fitting or joint. With the pump switched off and the water completely still, place a small amount of specialist dye near the suspected point without touching the surface. If there is suction through a defect, the dye may be drawn towards it.
This method works best for localised defects around skimmers, light niches, inlet fittings and visible cracks. It is less useful in moving water, in a large suspected area, or when the failure is behind the pool shell or underground. A dye movement can also be caused by a slight current, so it should be treated as supporting evidence, not the sole basis for repair.
When professional leak detection saves money
A confirmed leak does not mean the pool needs to be drained, broken out or retiled. In fact, premature demolition is one of the most expensive responses to an unproven fault. Professional pool leak detection combines tests to identify the leak point with far greater precision.
Depending on the pool construction and suspected system, this may include acoustic listening equipment for pressurised pipework, tracer gas testing for buried lines, thermal imaging where temperature differences are informative, electronic leak detection for waterproofing membranes, and targeted pressure testing. The appropriate method depends on whether the pool is concrete, fibreglass or lined, whether it has an overflow system, and whether the loss occurs with equipment on or off.
For a villa pool, accurate diagnosis can avoid lifting large areas of hard landscaping. For a hotel, school or community pool, it can protect operating schedules, guest experience and safety compliance. For any property manager, a technical report showing the tested circuits, readings, findings and recommended repair scope makes it easier to approve the right work and hold contractors accountable.
LeakDtech approaches pool investigations as a diagnostic exercise, not a guess-and-dig exercise. The objective is to identify the failed component with the least disruption possible, then provide evidence that supports a proportionate repair.
Do not ignore the secondary damage
Pool leaks rarely remain confined to water loss. Escaping water can undermine paving, wash out bedding material, create settlement around the shell, affect adjacent foundations or encourage mould in nearby plant rooms. Constant top-up also dilutes chemicals, increasing treatment costs and making water balance harder to maintain.
After repair, verify the result. Repeat the bucket test, observe the water meter or top-up volume over several days, and inspect the plant room during normal operation. If a pipe repair was completed, request a post-repair pressure test for the affected line. A repair should be proven, not simply assumed because the visible drip has stopped.
The most useful first step is simple: document the water loss before authorising major work. A measured test, followed by targeted technical investigation where needed, protects the pool, the surrounding property and the repair budget from expensive guesswork.