Water staining is usually the last visible stage of a much larger failure. By the time paint bubbles, plaster softens or mould appears, moisture may already have travelled through walls, ceilings, floor finishes or insulation. A guide to building moisture surveys should therefore begin with one principle: find the moisture pathway and source before authorising repairs.
For homeowners, that can mean stopping a recurring ceiling leak without removing an entire bathroom. For facilities managers, it can mean protecting occupied rooms, controlling repair costs and producing evidence for a contractor, insurer or landlord. In Dubai, where air-conditioning condensate, irrigation lines, roof waterproofing and concealed pipework all create distinct risks, a survey needs to be methodical rather than based on assumptions.
What a Building Moisture Survey Is Designed to Prove
A building moisture survey is a structured inspection that identifies where moisture is present, how extensive it is, and what mechanism is most likely causing it. It is not simply a technician placing a handheld damp meter against a wall and declaring that a leak exists.
The survey combines visual inspection, moisture measurement, environmental readings and, where needed, non-invasive leak detection methods. The objective is to separate active water ingress from historic staining, condensation, plumbing leakage, rising damp-like symptoms, failed waterproofing and moisture retained after a previous incident.
This distinction directly affects the repair scope. Repainting an affected wall may improve its appearance for a short period, but it will not solve a leaking chilled-water line behind it. Equally, breaking open floors because a moisture meter reads high can be expensive and unnecessary if the true cause is condensation around an uninsulated pipe or an external waterproofing defect.
A properly executed survey gives the property owner a defensible basis for action. It should identify the affected areas, explain the evidence, state the likely cause and recommend targeted next steps. Where the evidence is inconclusive, the report should say so clearly and specify the additional testing required.
When a Moisture Survey Is Worth Commissioning
A survey is particularly valuable when the visible defect and the likely source are not in the same location. Water migrates along pipe penetrations, slab edges, conduits and ceiling voids. The stain below a bathroom may originate from a shower enclosure, a concealed supply line, a drain connection, an air-conditioning condensate line or waterproofing around the floor drain.
Commission a moisture survey when you have a recurring stain after repairs, a mould smell, unexplained surface deterioration, a high water bill, swollen joinery, cracked sealant around wet areas or a suspected roof leak. It is also sensible before major refurbishment, handover, a defect liability period inspection or an insurance claim where the condition and extent of damage need to be documented.
For commercial sites, the trigger may be operational rather than cosmetic. Moisture in electrical rooms, hotel guest rooms, retail ceilings, hospital corridors or plant areas can create safety, business continuity and reputational risks. Early investigation is almost always less disruptive than waiting for a ceiling collapse, mould remediation programme or emergency shutdown.
How to Plan a Building Moisture Survey
The quality of the result depends heavily on the scope. Before attending site, establish what changed, when it changed and whether the defect responds to water use, rain, air-conditioning operation or irrigation cycles.
Ask for the history of repairs, photographs showing progression, water bills, pressure test records and layout drawings where available. A single detail such as a bathroom being used only at weekends, or a stain worsening after irrigation runs, can narrow the investigation quickly.
Define the inspection zone
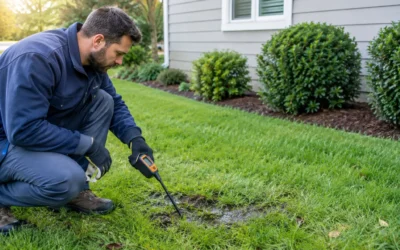
Start with the reported damage, then inspect the spaces above, below, adjacent to and outside the affected area. Moisture rarely respects room boundaries. In a villa, this may include the roof, parapet, bathrooms, external planter zones and irrigation valves. In a tower, it may include the flat above, vertical service risers and common drainage stacks.
The survey boundary should be wide enough to establish the pattern, but not so broad that results become vague. Every inspected area needs a clear reference point, such as room name, grid line, floor level or photograph number.
Record baseline conditions
Temperature and relative humidity provide context for every moisture reading. A cold surface in a humid air-conditioned room may suffer condensation even when no plumbing leak is present. Conversely, a dry room with a sharply elevated reading concentrated at one wall penetration may indicate a localised concealed leak.
Record recent rainfall, irrigation activity, cleaning, water use and HVAC operating conditions. If a wall was recently washed or a carpet was shampooed, this must be considered before diagnosing an active building defect.
The Survey Methods That Produce Reliable Evidence
Visual inspection remains fundamental. Look for tide marks, efflorescence, peeling coatings, corrosion, staining geometry, failed sealant, damaged grout, blistered finishes and mould growth. The shape of a defect often provides useful clues. A broad, diffuse ceiling stain behaves differently from a narrow vertical damp track beneath a pipe route.
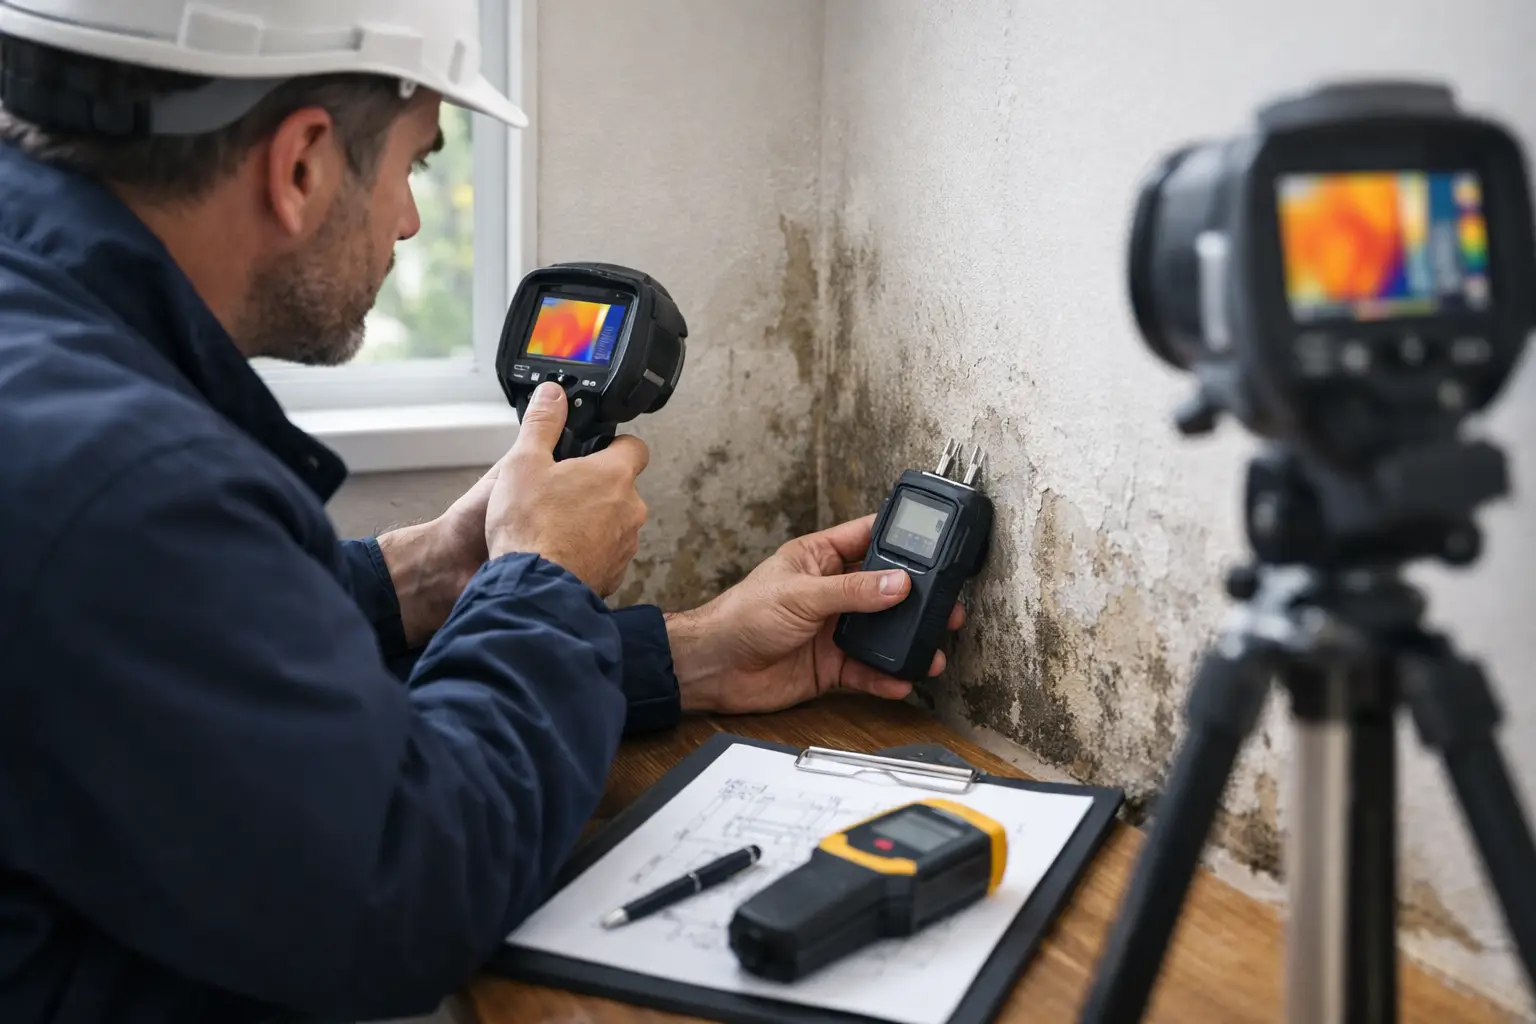
Moisture meters are useful screening tools, not a diagnosis on their own. Pinless meters can rapidly compare relative readings across a wall or ceiling. Pin-type meters can assess moisture in suitable materials more directly. However, salts, metal mesh, foil-backed insulation, dense finishes and embedded services can distort readings. The report should identify the meter type, measurement pattern and material tested rather than presenting a single number as final proof.
Thermal imaging helps identify temperature anomalies associated with evaporative cooling, wet materials, missing insulation and concealed pipework. It is especially effective when interpreted alongside moisture data and operating conditions. A thermal image alone cannot confirm a leak, because temperature differences may also result from air movement, solar gain or electrical equipment.
Where an active plumbing leak is suspected, pressure testing, acoustic correlation, tracer gas testing or targeted isolation may be required. These methods move the survey from identifying moisture to locating the actual point of failure. For complex buildings, this is where engineering-led diagnostics save substantial cost by avoiding speculative demolition.
LeakDtech applies this layered approach because the fastest route to a repair is not the first instrument used, but the evidence that eliminates the wrong repair location.
Mapping Moisture Properly
A moisture map converts inspection findings into a decision-making tool. Mark readings at consistent intervals across the affected surface, then compare them with readings from an apparently unaffected control area made from the same material.
The map should distinguish between high, moderate and normal comparative readings, while noting finishes that may affect the instruments. Include photographs with orientation markers and show nearby plumbing fixtures, drainage points, HVAC units, roof details or external landscaping.
Do not treat the wettest point as the source automatically. The wettest material may be the lowest point where water has accumulated, not where it entered. A ceiling can show moisture metres away from a failed shower drain because water has travelled along the slab or services route.
Turning Findings Into the Right Repair
The final report should rank findings by confidence. For example, it may identify active moisture around a shower threshold with evidence consistent with failed waterproofing, while recommending a controlled flood test to confirm the exact breach. This is more useful than an overconfident claim unsupported by the data.
Recommendations should be specific. They may include repairing a pipe joint, renewing shower waterproofing, resealing a façade penetration, clearing a condensate drain, correcting pipe insulation or conducting further leak detection. They should also separate source repairs from reinstatement works. Plaster replacement, painting and mould treatment should begin only after the moisture source is resolved and affected materials have dried to acceptable levels.
Drying times depend on material thickness, ventilation, humidity and the amount of water absorbed. Rapid cosmetic reinstatement can trap moisture in the fabric and lead to staining, odour or mould returning later. For sensitive sites, a follow-up moisture survey provides evidence that drying is progressing before finishes are reinstated.
Common Errors That Make Moisture Problems More Expensive
The most costly mistake is repairing based on appearance alone. Regrouting tiles, repainting a ceiling or applying sealant may disguise the symptom without addressing the failure beneath it.
Another common error is relying on one test method. Moisture readings, thermal images and pressure tests each answer different questions. Their value comes from correlation. If the evidence conflicts, investigate why rather than selecting the result that is most convenient.
Finally, avoid treating every damp area as a plumbing leak. Condensation, groundwater-related conditions, façade ingress and construction moisture require different remedies. The right diagnosis may take a little longer, but it prevents repeated call-outs, unnecessary opening-up works and escalating damage.
A moisture survey earns its value when it turns an uncertain stain into a controlled repair plan. Document the evidence, test the most likely mechanisms, and only open the building fabric where the findings justify it. That is how property owners protect budgets, finishes and occupied spaces at the same time.